


Today lets talk about UVM RAL. In this post, I will introduce about – What is RAL? and going forward I’ll post more about Why RAL is needed? and How to implement it?
So what RAL stands for? RAL is an abbreviation for Register Abstraction Layer.
In this post, we’ll discuss
- Registers in SoC/Subsystem/Blocks
- Basic representation of registers
- Type of access needed to write/read registers
- Where RAL fits in Layered structure?
We know that our DUT (be it a SoC or Subsystem or Design Block) contains number of different type of registers e.g. control registers, status registers. Most likely these registers are contained within a dedicated block called CSR Block aka “Control and Status Register” Block. But name could be different in different SoCs. These registers are arranged inside the CSR block based on the address map in the SoC or Subsystem. Both hardware and software needs to access control registers to program and control different functionalities in the Chip/Subsystem/Block. Similarly, Status registers are read to know the status of an operation, for example, Interrupt assertion after completion of certain functionality, that means when a certain task is completed by the design, it sets a particular bit/s of the register field to indicate the completion of the operation. e.g. data transfer completion.
To understand RAL, I would recommend you, first and foremost get familiarity with the Hardware Registers, if not having already, – I mean, How the registers are defined, what are different types, what are different fields and attributes?
In short, I have explained here with an example of Control and Status register. As shown in the diagram below, there are two 32-bits registers – Control and Status registers.

Control registers is having an offset of 0x00 and contains 5 different fields i.e. A, B, C, D & E of different sizes. Status register is with offset 0x04 & having 3 fields i.e. F, G & H. Control register is “WR” means Write and Read both in nature while Status register is “RO” which tells its Read Only. This gives us a fundamental structure of a register definition. Lets summarize it in form of technical jargon –
Register names – Names of Control and Status register
Register fields – A, B, C, D, E, F, G, H
Register types – WR (Write and Read), RO (Read Only)
I believe, it gave a fairly good picture how our registers looks like as part of our design. Next, we need to understand that these registers are being accessed by Hardware and Software both. There are two approaches to do that in Simulation world, those are called “Front Door Access” and “Back Door Access“.
Lets talk about Front Door Access – It happens through an interface which could be anything like AHB or APB or I2C or UART or any other. Lets take example of APB (Most widely used for the peripherals register configuration in SoCs). Any peripheral (mostly acts like a Slave), which contains the registers, is connected to the APB bus and the Bus Master drives the WRITE and READ transactions on the APB bus towards the APB Slave to Write data and Read data to/from the registers. Fundamentally, we model these APB transactions in our UVM environment.
Since our verification environment is UVM based, hence we write sequences to generate stimulus for register Write and Read transactions. RAL helps us to abstract the register layer and helps us to create a infrastructure which is independent of the the DUT interface. In a simplistic view, its like 2 layers along with the DUT.
The following diagram will help you to visualize it –

Here you can see that Block A is a RAL Layer (I know, RAL is in itself Register Abstraction Layer, but just from clarity point of view, using RAL Layer) which contains the Design registers model defined exactly equivalent to registers in the Design & it’s called the Register Model. Register Model contains the register name, its fields and attributes are declared here. Various different pre-defined register sequences comes with UVM base library, those can be directly re-used e.g. Reset sequence, walking 1’s. etc.
Block B, is a protocol dependent implementation of the UVM environment e.g. UVM Driver, which converts the reusable sequence transactions into protocol dependent cycle based transaction and exchange it with the DUT.
Block C, is our DUT which is connected to the Block B based on the chosen interface like APB.
Hope this post gave a initial picture about RAL (Register Abstraction Layer). Going forward, in my upcoming post – I’m planning to write on “Why we need RAL Layer?” when we can write register sequences in our existing UVM environment. We’ll try to understand how RAL enhance the re-usability of register sequences.
Today lets talk about UVM RAL. In this post, I will introduce about – What is RAL? and going forward I’ll post more about Why RAL is needed? and How to implement it?
So what RAL stands for? RAL is an abbreviation for Register Abstraction Layer.
In this post, we’ll discuss
- Registers in SoC/Subsystem/Blocks
- Basic representation of registers
- Type of access needed to write/read registers
- Where RAL fits in Layered structure?
We know that our DUT (be it a SoC or Subsystem or Design Block) contains number of different type of registers e.g. control registers, status registers. Most likely these registers are contained within a dedicated block called CSR Block aka “Control and Status Register” Block. But name could be different in different SoCs. These registers are arranged inside the CSR block based on the address map in the SoC or Subsystem. Both hardware and software needs to access control registers to program and control different functionalities in the Chip/Subsystem/Block. Similarly, Status registers are read to know the status of an operation, for example, Interrupt assertion after completion of certain functionality, that means when a certain task is completed by the design, it sets a particular bit/s of the register field to indicate the completion of the operation. e.g. data transfer completion.
To understand RAL, I would recommend you, first and foremost get familiarity with the Hardware Registers, if not having already, – I mean, How the registers are defined, what are different types, what are different fields and attributes?
In short, I have explained here with an example of Control and Status register. As shown in the diagram below, there are two 32-bits registers – Control and Status registers.
Control registers is having an offset of 0x00 and contains 5 different fields i.e. A, B, C, D & E of different sizes. Status register is with offset 0x04 & having 3 fields i.e. F, G & H. Control register is “WR” means Write and Read both in nature while Status register is “RO” which tells its Read Only. This gives us a fundamental structure of a register definition. Lets summarize it in form of technical jargon –
Register names – Names of Control and Status register
Register fields – A, B, C, D, E, F, G, H
Register types – WR (Write and Read), RO (Read Only)
I believe, it gave a fairly good picture how our registers looks like as part of our design. Next, we need to understand that these registers are being accessed by Hardware and Software both. There are two approaches to do that in Simulation world, those are called “Front Door Access” and “Back Door Access“.
Lets talk about Front Door Access – It happens through an interface which could be anything like AHB or APB or I2C or UART or any other. Lets take example of APB (Most widely used for the peripherals register configuration in SoCs). Any peripheral (mostly acts like a Slave), which contains the registers, is connected to the APB bus and the Bus Master drives the WRITE and READ transactions on the APB bus towards the APB Slave to Write data and Read data to/from the registers. Fundamentally, we model these APB transactions in our UVM environment.
Since our verification environment is UVM based, hence we write sequences to generate stimulus for register Write and Read transactions. RAL helps us to abstract the register layer and helps us to create a infrastructure which is independent of the the DUT interface. In a simplistic view, its like 2 layers along with the DUT.
The following diagram will help you to visualize it –
Here you can see that Block A is a RAL Layer (I know, RAL is in itself Register Abstraction Layer, but just from clarity point of view, using RAL Layer) which contains the Design registers model defined exactly equivalent to registers in the Design & it’s called the Register Model. Register Model contains the register name, its fields and attributes are declared here. Various different pre-defined register sequences comes with UVM base library, those can be directly re-used e.g. Reset sequence, walking 1’s. etc.
Block B, is a protocol dependent implementation of the UVM environment e.g. UVM Driver, which converts the reusable sequence transactions into protocol dependent cycle based transaction and exchange it with the DUT.
Block C, is our DUT which is connected to the Block B based on the chosen interface like APB.
Hope this post gave a initial picture about RAL (Register Abstraction Layer). Going forward, in my upcoming post – I’m planning to write on “Why we need RAL Layer?” when we can write register sequences in our existing UVM environment. We’ll try to understand how RAL enhance the re-usability of register sequences.
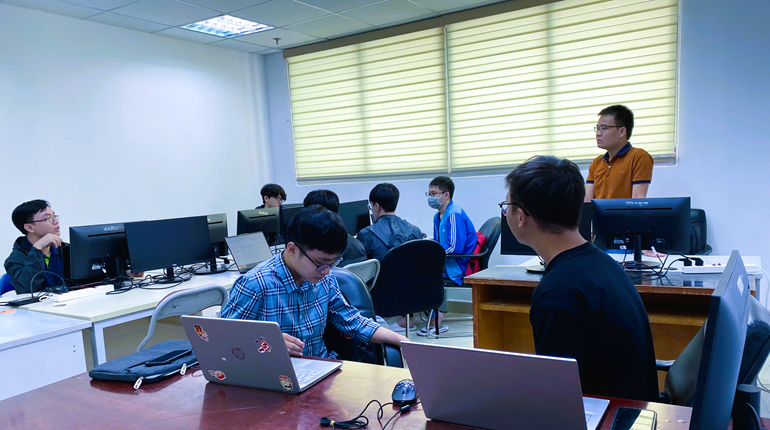
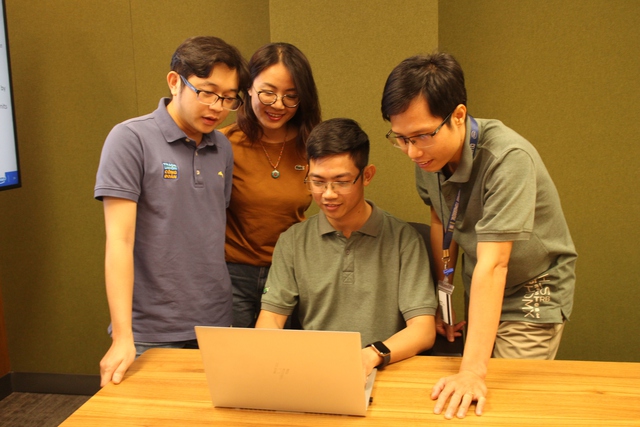
Bạn Có Đam Mê Với Vi Mạch hay Nhúng - Bạn Muốn Trau Dồi Thêm Kĩ Năng
Mong Muốn Có Thêm Cơ Hội Trong Công Việc
Và Trở Thành Một Người Có Giá Trị Hơn
Bạn Chưa Biết Phương Thức Nào Nhanh Chóng Để Đạt Được Chúng
Hãy Để Chúng Tôi Hỗ Trợ Cho Bạn. SEMICON